So you've heard all sort of good things about 3delight (a renderman compliant renderer) and want a place to start? That's good. I'll try to help a bit with some basic stuff :)
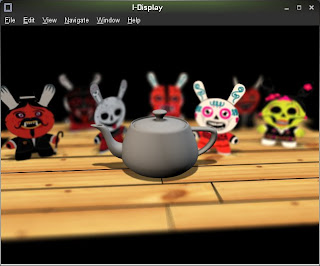
ilustraciones de Saner:
http://saner-dsr.blogspot.com/
http://saner.com.mx/
There are two things to control quality: shading rate and pixel samples.
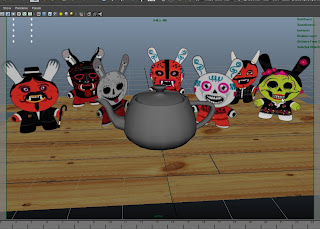
First, we will need a small scene with a teapot and some friends. You can download it from the link below:
and this is the texture map (compressed tif file with alpha channel)
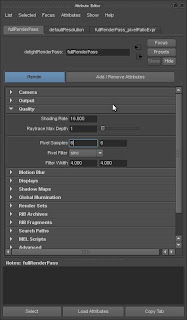
In that scene, there's an existing render pass. Select it (3delight -> Select render pass -> fullRenderPass ), open in attribute editor and go to its Quality tab:
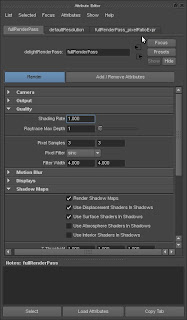
Shading Rate is the main control of quality versus speed.
You will learn later how this is related to tessellation of geometry into micropolygons. But for now let's just say that higher shading rate will be faster to render but will look worse.
If we click on the blue "render" button, i-display will pop up with something like the image below.
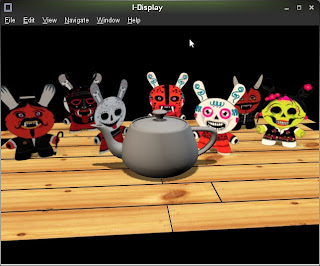
shading rate: 1
render time: 1.22 seconds
Shadows look a bit jagged and textures are not sharp enough (can't be sharp enough at higher resolutions since the texture itself is only 640x640). I'll use render times just to make a comparison between the next renders (and this doesn't count hypershade shaders being translated or geometry ).
If we set a higher shading rate (2) in our 3delight render pass we get:
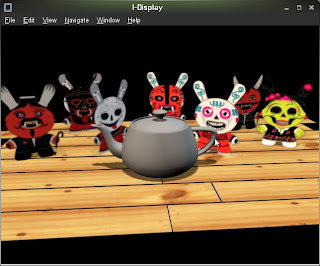 shading rate: 2
render time: 0.8 seconds
Here you can notice how the texture gets some blur. The shader on the teapot doesn't change at all (it's a simple shader).
Let's try with a higher (16) shading rate!
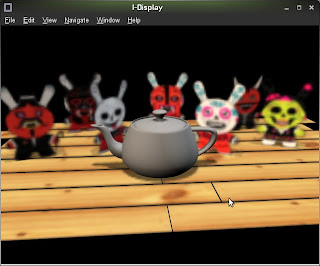
shading rate: 16
render time: 0.64 seconds
That shading rate parameter will handle the quality on the whole scene but we can do it on a per object basis (or set of objects if we are using delightGeoAttribs nodes).
To assign that node, open the outliner and select the group called "aztec" and the polySurface1 object. Then, from the 3Delight menu, open the "Assignment Panel" and with objects still selected, click on the checker icon to the right.
That will assign a new delightGeoAttribs1 node, open it up on the attribute editor window and let's add the "Shading Rate Multiplier" attribute (Add/Remove Attributes -> Quality -> Shading Rate Multiplier). Defaults to 1 which results on the same shading rate of the render pass (since it is a multiplier). But let's say we want the objects connected to delightGeoAttribs1 to have a shading rate of 1. Well, if the render pass shading rate is set to 16, then this parameter should be 0.0625 (we want shading rate of 1 / actual shading rate on render pass 16 = 0.0625 is the multiplier).
The render with that new setting on delightGeoAttribs1 node is
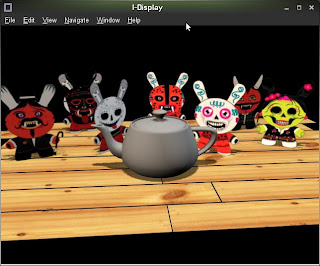
shading rate: 16
shading rate on delightGeoAttribs1: 0.0625
render time: 1.01 seconds
Looks like our first render! But this doesn't mean this is the way to render. Most of the time you don't mess with shading rate at all (2~5 for preview, 0.5~1 for final rendering is usually good enough).
This is the scene until this point:
And finally, from the documentation we can read:
` Shading Rate'
Controls how finely the geometry is tessellated prior to shading. 3DELIGHT adaptively tessellates each primitive into very tiny elements called micro-polygons, those elements are then shaded and sampled. Usually, the size of one such micro-polygon is one screen pixel and this corresponds to a shading rate of 1.0. A shading rate of 4.0 will produce micro-polygons that cover approximately an area of 2x2 pixels and a shading rate of 0.5 will give two micro-polygons per pixel. It is recommended to leave this parameter to its default value of 1.0 and reasons why not doing so are explained in Rendering Guidelines.
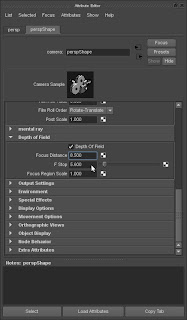
And now, render:
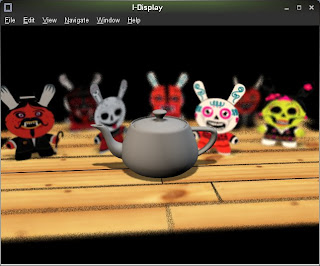
What we can see there is a lack of samples in some areas. By default, pixel samples is set to 3 but most of the time we will add more samples depending on what we have on scene (motion blur, depth of field, fur). Let's add some more. Open the render pass (3Delight -> Select Render Pass -> fullRenderPass). In the quality tab, set "Pixel Samples" to 6 6
And the render looks like this...
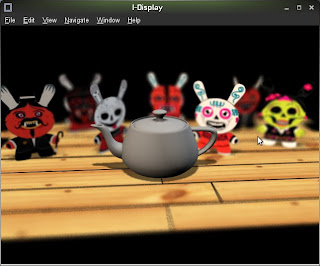
That's better. Let's fix the shadow. Select the spotLight1 and open attribute editor. Go to "Shadows -> Depth Map Shadow Attributes" and in "Resolution" change from 512 to 1024. Also, increase Pixel Samples to 12 12.
And render...

There are enough pixel samples now and the shadow also looks better. So that's it for a basic tutorial on Quality Settings. As you continue learning about 3delight, you'll see how tuning different parts can get you to the party earlier :)
You can also get more info reading the documentation on 3Delight for Maya here http://www.3delight.com/en/uploads/docs/3dfm/3dfm_11.html#SEC71
The final scene is this one
1 comment:
Just found this post, it is exactly what I was looking for, and so much nicer with the friends, you made a teapot scene interesting.
Post a Comment